https://upcloud.com/community/tutorials/install-shadowsocks-libev-socks5-proxy/
Shadowsocks is a free open-source SOCKS5 proxy widely used to protect privacy on the Internet. Shadowsocks-libev, written in C, ports Shadowsocks to create a regularly maintained, lighter and faster version of the original Shadowsocks. The data passing through the Shadowsocks-server and Shadowsocks-client is encrypted and can be made indistinguishable from any other web traffic to avoid third-party monitoring.
In this tutorial, we’ll show the steps for installing Shadowsocks-libev on a cloud server, configuring the proxy server, and using a client to connect to the proxy. The instructions are given here for CentOS 8, Debian 10 and Ubuntu 20.04 but the process should be much the same on any operating system supported by Snap.
Test hosting on UpCloud!
Installing Shadowsocks-libev
Shadowsocks-libev recommends using their Snap releases for an easy way to install the latest binaries.
On CentOS 8 servers you will need EPEL repository before you can install Snap. Add it using the following commands:
sudo dnf install -y epel-release
sudo dnf update -y
Then install and enable Snap by running the next two commands:
sudo dnf install -y snapd
sudo systemctl enable --now snapd.socket
For Debian 10 and Ubuntu 20.04 systems, first, update the server software and then install Snap with the commands below.
sudo apt update && apt upgrade -y
sudo apt install -y snapd
Before installing Shadowsocks-libev, you may wish to install haveged to improve randomness but this is optional.
# CentOS 8
sudo dnf install -y haveged
# Debian 10 and Ubuntu 20.04
sudo apt install -y haveged
Once you have Snap and the optional haveged installed, reboot the server before continuing.
sudo reboot
When your cloud server is up and running again, log back in over SSH. Then install Shadowsocks-libev proxy via Snap using the following command:
sudo snap install shadowsocks-libev
Once you’ve installed Shadowsocks-libev, continue to the next section about how to configure the proxy server.
Configuring proxy server
Snap will install Shadowsocks-libev for you but it’ll need a little help with the setup. Make a directory to hold your configuration files.
sudo mkdir -p /var/snap/shadowsocks-libev/common/etc/shadowsocks-libev
Next, create a JSON file for Shadowsocks-libev configuration. It can be named anything. Here we are using simple config as the name.
sudo touch /var/snap/shadowsocks-libev/common/etc/shadowsocks-libev/config.json
Then edit the file and add the following configuration to the file.
sudo nano /var/snap/shadowsocks-libev/common/etc/shadowsocks-libev/config.json
{
   "server":["[::0]", "0.0.0.0"],
   "mode":"tcp_and_udp",
   "server_port":443,
   "password":"your-secure-password",
   "timeout":60,
   "method":"chacha20-ietf-poly1305",
   "nameserver":"1.1.1.1"
}
Let’s go over each of the configuration parameteres and what they do.
Server
The example configuration uses the server definition values which accept any IP address, both IPv6 and IPv4:
"server":["::0", "0.0.0.0"],
Not binding to a specific address can be useful if you wish to create a template of the configuration or a custom image of your Shadowsock server. This way the configuration will work regardless of the public IP address.
You can also use your public IPv6 and IPv4 addresses, for example:
"server":["2a04:3543:1000:2312:4631:c1ff:feb5:01f0", "95.123.198.234"],
If you have a domain name that resolves to your cloud server’s IP address, you can also use it to have the proxy only respond to a certain domain.
"server":"shadow.example.com",
Mode
The different modes define the data communication protocol used by the proxy. There are three valid values for “mode”:
1. “tcp_and_udp“
2. “tcp_only“
3. “udp_only”
Using both TCP and UDP allows the proxy to negotiate the best connection available at the time and should be fine. If your network has specific requirements or restrictions, you may need to select tcp_only.
Server port
Our example Shadowsocks config uses the port 443 but it can be set to any free port. If you’re not using HTTP (80) or HTTPS (443) ports by hosting a website on the same server, you should use either of these ports. Note that using a common port such as 80 or 443 can attract unauthorised connection attempts so make sure your password is secure.
Password
The server password is used to authenticate connections to the proxy. Make sure to select a secure password with adequate complexity and length.
Timeout
This is the socket timeout in seconds. The example value of 60 should be fine. However, if you installed Shadowsocks from backports you might need to set it higher but it’s suggested you keep it under 5 minutes, i.e. 300 seconds.
Method
The method refers to the encryption cipher used by the proxy to secure the communications. The cipher used in the example config is a modern and efficient option:
"method":"chacha20-ietf-poly1305"
You can choose other ciphers if you want. Another popular alternative is:
"method":"aes-256-gcm"
Nameserver
Our example also includes a domain name server which is not strictly necessary. Without this parameter the proxy will use the DNS used by your cloud server. You can have Shadowsocks use your preferred DNS by setting the nameserver in your config file.
For example, to use Google’s DNS, enter the following:
"nameserver":"8.8.8.8"
Or if you prefer Cloudflare’s DNS, use their IP address instead:
"nameserver":"1.1.1.1"
Once you are done editing the configuration, save the file ctrl+o and exit the editor ctrl+x.
Creating systemd service unit
Shadowsocks-libev can be run manually in the terminal but this isn’t very practical in the long-term. Instead, create a systemd service unit file using the following command:
sudo touch /etc/systemd/system/shadowsocks-libev-server@.service
Next, open the newly created file for edit:
sudo nano /etc/systemd/system/shadowsocks-libev-server@.service
Then copy and paste the following content into the file:
[Unit]
Description=Shadowsocks-Libev Custom Server Service for %I
Documentation=man:ss-server(1)
After=network-online.target

[Service]
Type=simple
ExecStart=/usr/bin/snap run shadowsocks-libev.ss-server -c /var/snap/shadowsocks-libev/common/etc/shadowsocks-libev/%i.json

[Install]
WantedBy=multi-user.target
Afterwards, save the file and exit the editor.
You can then enable the systemd service unit for your config file by running the following command. Note that the @config is used to select the configuration file, config.json in this case, but without the file format notation.
sudo systemctl enable --now shadowsocks-libev-server@config
Check that the server started up successfully by using the status command:
sudo systemctl status shadowsocks-libev-server@config
You should see Shadowsocks listening to the IP addresses, ports and protocols you defined in the configuration. In our example output below, you can see both TCP and UDP running on IPv4 and IPv6 addresses as set in the configuration step.
● shadowsocks-libev-server@config.service - Shadowsocks-Libev Custom Server Service for config
     Loaded: loaded (/etc/systemd/system/shadowsocks-libev-server@.service; enabled; vendor preset: enabled)
     Active: active (running) since Sun 2020-08-30 10:37:06 UTC; 3s ago
       Docs: man:ss-server(1)
   Main PID: 1229 (ss-server)
      Tasks: 1 (limit: 1074)
     Memory: 18.0M
     CGroup: /system.slice/system-shadowsocksx2dlibevx2dserver.slice/shadowsocks-libev-server@config.service
             └─1229 /snap/shadowsocks-libev/508/bin/ss-server -c /var/snap/shadowsocks-libev/common/etc/shadowsocks-libev/config.json

Aug 30 10:37:06 shadowsocks.example.com systemd[1]: Started Shadowsocks-Libev Custom Server Service for config.
Aug 30 10:37:07 shadowsocks.example.com snap[1229]:  2020-08-30 10:37:07 INFO: UDP relay enabled
Aug 30 10:37:07 shadowsocks.example.com snap[1229]:  2020-08-30 10:37:07 INFO: initializing ciphers... chacha20-ietf-poly1305
Aug 30 10:37:07 shadowsocks.example.com snap[1229]:  2020-08-30 10:37:07 INFO: using nameserver: 1.1.1.1
Aug 30 10:37:07 shadowsocks.example.com snap[1229]:  2020-08-30 10:37:07 INFO: tcp server listening at [::0]:443
Aug 30 10:37:07 shadowsocks.example.com snap[1229]:  2020-08-30 10:37:07 INFO: tcp server listening at 0.0.0.0:443
Aug 30 10:37:07 shadowsocks.example.com snap[1229]:  2020-08-30 10:37:07 INFO: udp server listening at [::0]:443
Aug 30 10:37:07 shadowsocks.example.com snap[1229]:  2020-08-30 10:37:07 INFO: udp server listening at 0.0.0.0:443
Aug 30 10:37:07 shadowsocks.example.com snap[1229]:  2020-08-30 10:37:07 INFO: running from root user
With Shadowsocks-libev proxy server up and running, we are almost ready to start testing the connection. Before then, check the next part of the tutorial to configure your firewall to allow a connection.
Allowing connection through firewall
If you are using a firewall like UFW or firewalld, make sure you open up the port used by server_port as set in the configuration file, port 443 in this example.
# Ubuntu
sudo ufw allow 443
# CentOS
sudo firewall-cmd --add-service=https --permanent
sudo firewall-cmd --reload
If you’re not using a software firewall on your server we recommend enabling the UpCloud’s Firewall service on your cloud server.
Check out the tutorial for managing UpCloud Firewall to find out more.
Connecting using proxy client
Shadowsocks-libev is now ready for proxy connections. To be able to connect to your Shadowsocks proxy server, you’ll need a client.
Client software
Shadowsocks is supported by a number of different clients and devices. You can find the list of available clients for your devices at the Shadowsocks download page.
Install a client of your choosing and test out the connection with the help of the details below.
For example, you can use the same Shadowsocks-libev software in client mode by installing it on your local system. Follow the installation steps like when installing the Shadowsocks-libev server then continue in the Linux client configuration step underneath.
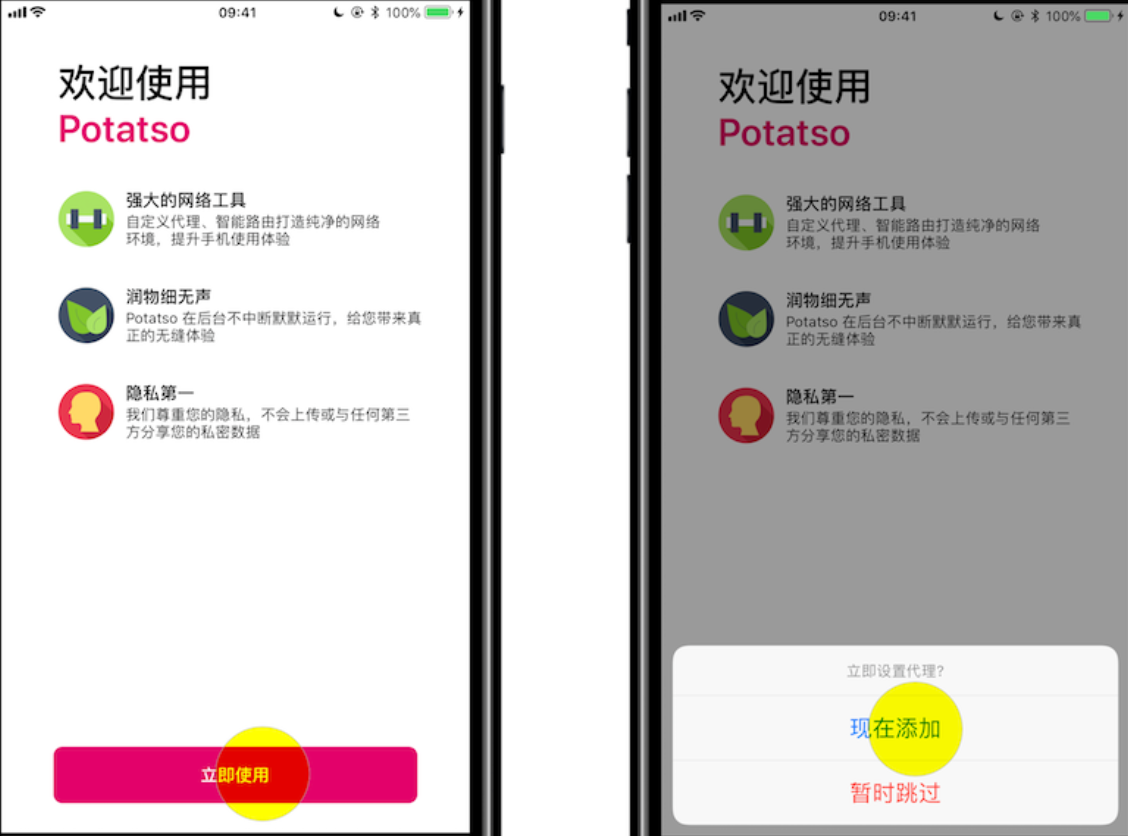
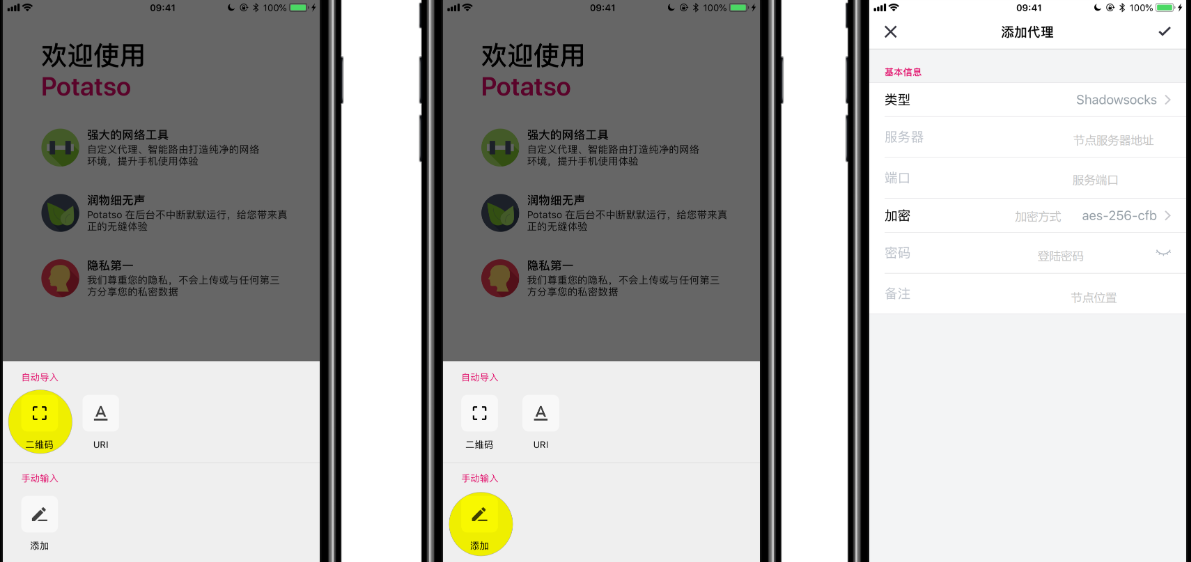
Configuring mobile devices
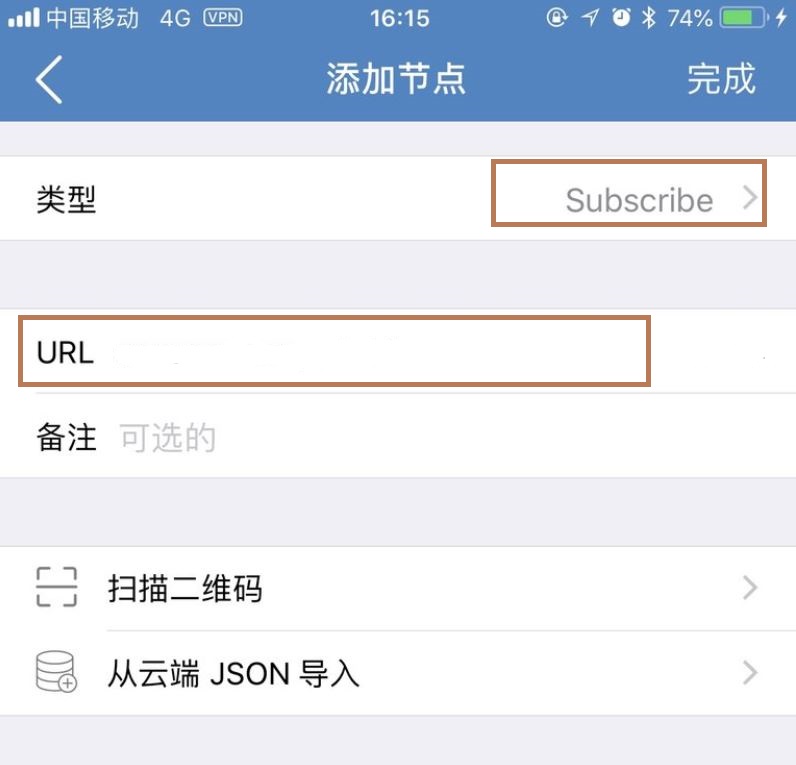
As a light-weight proxy, Shadowsocks-libev works great with mobile devices. If you want a quick way to connect using a smartphone, go to the Shadowsocks’ QR generator and fill your config details in the following format:
ss://method:password@hostname:port
Replace the hostname with your server’s public IP if you are using the IPs instead of a domain name. For example:
ss://chacha20-ietf-poly1305:your-secure-password@95.123.198.234:443
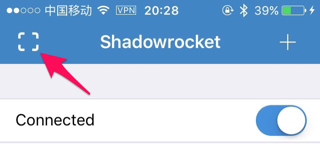
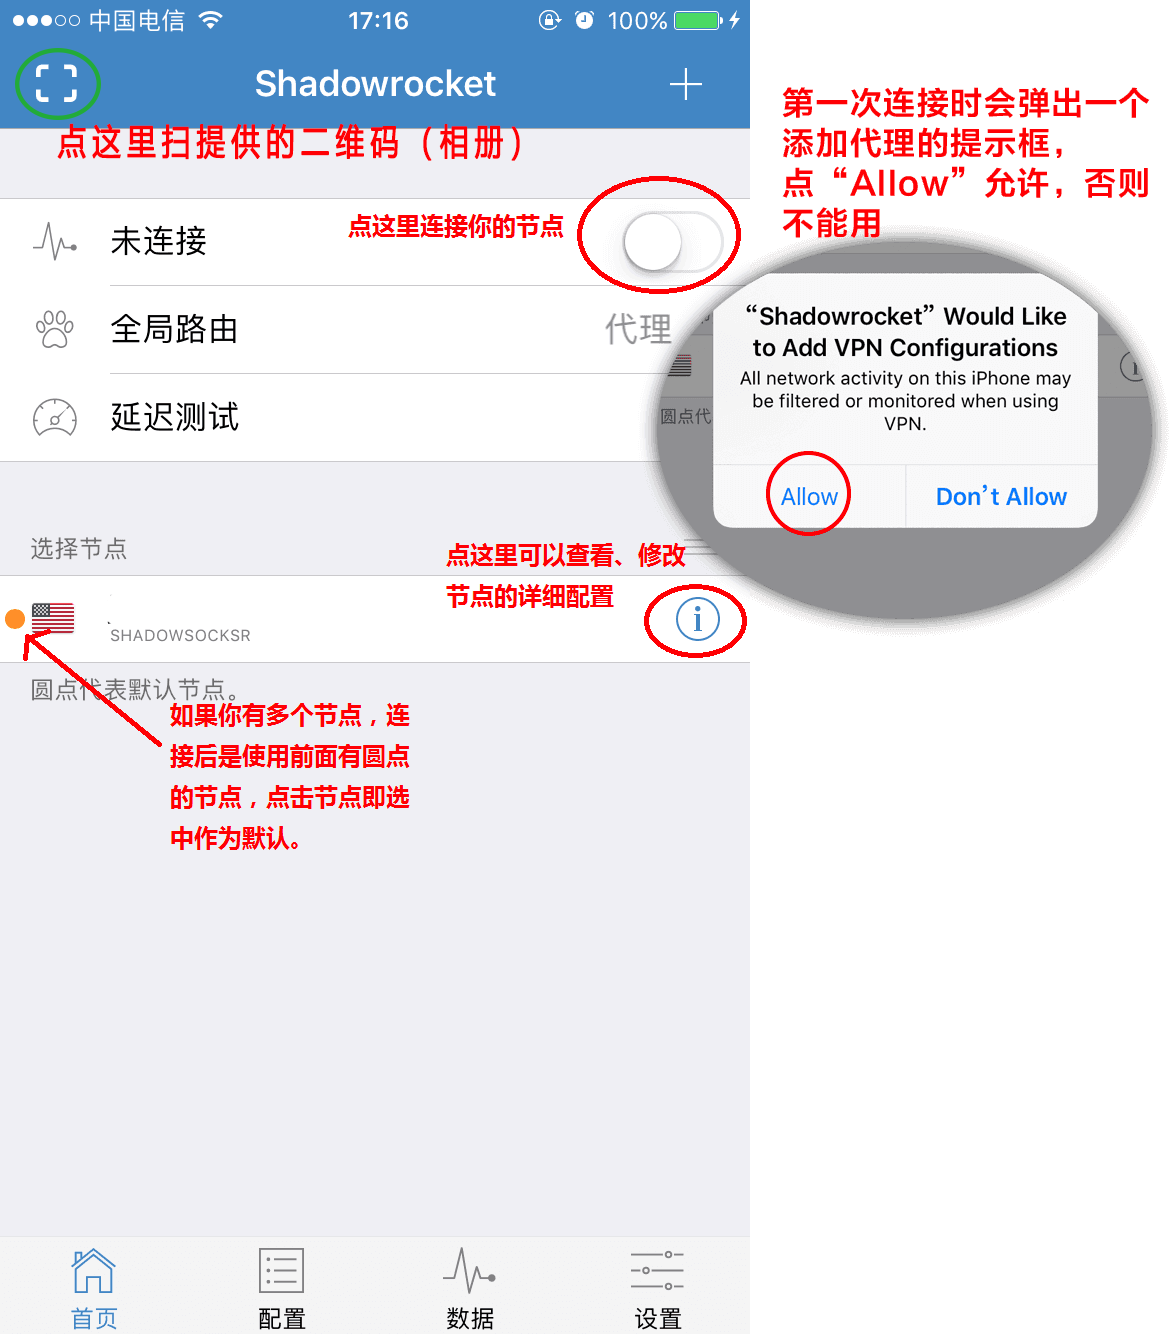
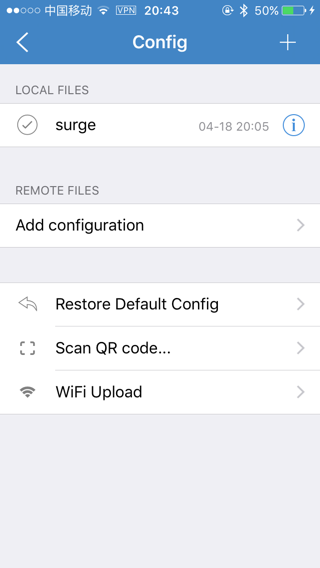
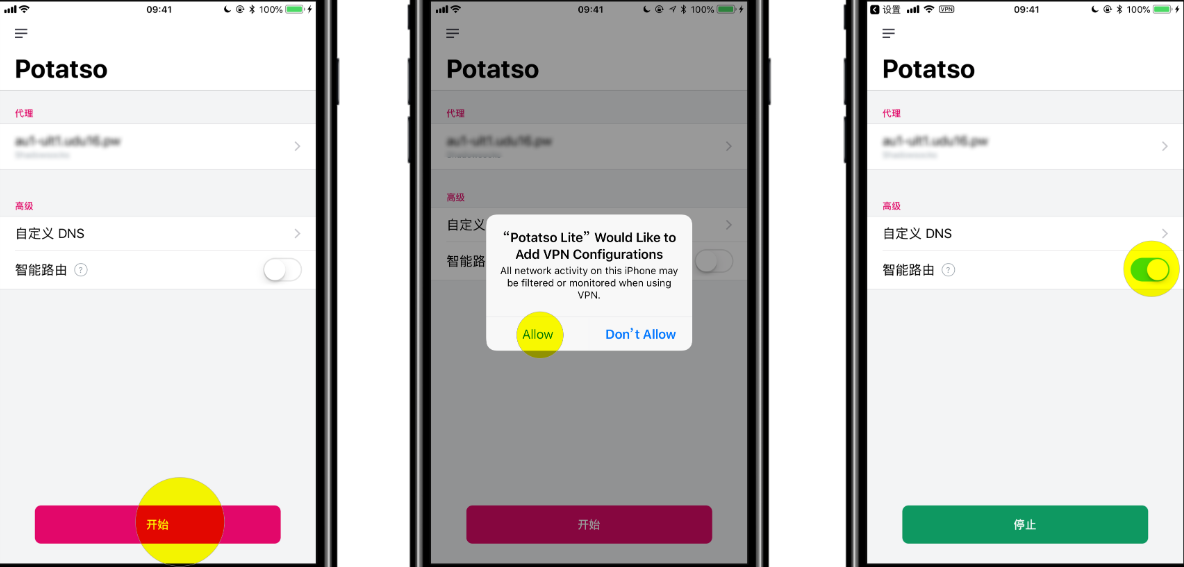
Then import the generated URI or QR code on your device using the client software. Select the imported profile and activate the connection. And finally, configure your system to use the proxy.
In mobile devices like iOS and Android, the connection can serve as a full VPN.
Configuring another Linux host
Connecting using the Shadowsock-libev as a client can be done by configuring the proxy in localhost mode. Once installed, create local-config.json file as underneath.
Set the file to include the server IP address and port as you configured on the proxy server. Also, include local address and port like shown below. Lastly, set the password and encryption method to match your Shadowsocks proxy server.
sudo nano /var/snap/shadowsocks-libev/common/etc/shadowsocks-libev/local-config.json
{
    "server":"95.123.198.234",
    "server_port":443,
    "local_address":"127.0.0.1",
    "local_port":1080,
    "password":"your-secure-password",
    "timeout":60,
    "method":"chacha20-ietf-poly1305"
}
Next, create a systemd unit file for the Shadowsocks client and edit it to have the following content.
sudo nano /etc/systemd/system/shadowsocks-libev-local@.service
[Unit]
Description=Shadowsocks-Libev Local Service for %I
Documentation=man:ss-local(1)
After=network-online.target

[Service]
Type=simple
ExecStart=/usr/bin/snap run shadowsocks-libev.ss-local -c /var/snap/shadowsocks-libev/common/etc/shadowsocks-libev/%i.json

[Install]
WantedBy=multi-user.target
Once done, save the file and exit the editor.
Then start the client proxy using the following command. Note that the @config is used to select the configuration file, e.g. config.json but without the file format.
sudo systemctl start shadowsocks-libev-local@local-config
The local proxy creates a connection to your cloud server and allows data to pass through them. To actually have application data to use the proxy, you’ll need to configure your web browser or operating system to use the local proxy. The actual process depends on your use case but by our configuration, the proxy is running on the IP 127.0.0.1 and port 1080.
Testing the connection
Once you are connected, check that your traffic is running through the proxy. For example, open the following URL to test the IP address you are connecting from as seen by others on the Internet.
https://ifconfig.me
Alternatively, you can test it directly by using curl in the terminal:
curl --proxy socks5://127.0.0.1:1080 https://ifconfig.me
Or by starting Google Chrome with the following command-line option:
google-chrome --proxy-server="socks5://127.0.0.1:1080"
You should then see your connection details listing the IP address of your cloud server instead of the IP of your client device.
Note that using a VPN connection to your cloud server does not guarantee anonymity and any network traffic must comply with UpCloud Terms of Service and Acceptable Use Policy.
Making further optimisations
You should now have a fully functional proxy securing your connection to your cloud server. You may not need any additional optimisations, but in the off-chance that you are having a less than ideal experience, the following tweaks might help.
Increasing open file descriptors
Check the current values by running:
ulimit -aH
If open files parameter shows less than 51200, do the following:
Open the limits.conf file in a text editor.
sudo nano /etc/security/limits.conf
Then add the following lines just before the # End of file:
* soft nofile 51200
* hard nofile 51200
Alternatively, use the following if the proxy server is running as root:
root soft nofile 51200
root hard nofile 51200
Afterwards, save the file and exit the editor.
Tuning the kernel parameters
Depending on the performance of your proxy server, you may wish to make the following changes to your system configuration:
sudo nano /etc/sysctl.conf
Add the following lines to the end of the file:
fs.file-max = 51200
net.core.netdev_max_backlog = 250000
net.core.somaxconn = 4096
net.ipv4.tcp_syncookies = 1
net.ipv4.tcp_tw_reuse = 1
net.ipv4.tcp_tw_recycle = 0
net.ipv4.tcp_fin_timeout = 30
net.ipv4.tcp_keepalive_time = 1200
net.ipv4.ip_local_port_range = 10000 65000
net.core.netdev_max_backlog = 4096
net.ipv4.tcp_max_syn_backlog = 8192
net.ipv4.tcp_max_tw_buckets = 5000
net.ipv4.tcp_fastopen = 3
net.ipv4.tcp_mtu_probing = 1
net.core.rmem_max = 67108864
net.core.wmem_max = 67108864
net.ipv4.tcp_mem = 25600 51200 102400
net.ipv4.tcp_rmem = 4096 87380 67108864
net.ipv4.tcp_wmem = 4096 65536 67108864
Then save the file and run the command below to reload the settings.
sudo sysctl -p
Using TCP BBR
TCP BBR is a TCP congestion control algorithm developed by Google and its been reported to improve performance on certain networks. You can enable it by adding the following to lines to your system configuration file.
sudo nano /etc/sysctl.conf
net.core.default_qdisc=fq
net.ipv4.tcp_congestion_control=bbr
Then save the file and reload the settings.
sudo sysctl -p
Check the changes by running the next command.
sudo sysctl net.ipv4.tcp_congestion_control
If the output is as follows the setting was applied successfully.
net.ipv4.tcp_congestion_control = bbr
These optimisations should help alleviate any possible performance issues.
https://upcloud.com/community/tutorials/install-shadowsocks-libev-socks5-proxy/